Unity Canvas render mode
Last edited by Shane, June 2021.
Here is a series of notes I constantly reference when building any sort of interface or menu system in Unity, using their built-in UI system. Consider this a cheat sheet for your most common use cases.
I’m just a hobbyist game developer so the below is heavily skewed by the kind of games I’ve made so far. It might not be great advice for whatever you’re doing. I tend to build 2D, interface based games, but as most UI is 2D hopefully there are some transferable bits to 3D.
Canvas render mode types
The canvas is the parent element of all the UI elements of your game. This includes any text and images you want in the same spot on the screen, (almost) all the time, like a health meter or panels for your inventory. It excludes your world sprites.
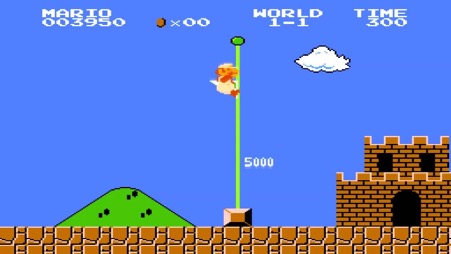
In the Super Mario Bros screen cap, the points, coins, world label, and time are all UI elements that belong on the canvas. Even that moving “5000” points would be part of the canvas too. The cloud, background hill and sky, ground, and castle would not. Even Mario himself would not be a part of the UI.
Screen Space – Overlay
This is likely the most common UI method. This canvas is always visible on the screen, “on top” of everything else. It applies no perspective shifting – it has no distance from your camera. It’s not affected by the camera at all. Ideal for 3D games, or games where you’re applying affects to the camera that you don’t want affecting the UI.
The canvas scales to match the screen resolution, and its pixel space is
defined by the Reference Resolution of the Canvas. For me, this defaults to 800
x 600. So, Vector3.zero is the bottom-left hand pixel of the screen. new
Vector3(800, 600, 0) is the top-right; Vectors between those are scaled. This
is very surprising when you want to place a UI element “over” a world element:
to do that, you need to use
RectTransformUtility.WorldToScreenPoint(Camera.main, obj.transform.position).
This needs to be updated every time the camera moves. This problem doesn’t
exist in Camera mode, where you can refer to world pixels easily enough.
Screen Space – Camera
Very similar to the above, except the camera settings affect the UI. It has a distance from the camera, which could get clipped by the camera depth setting, for instance.
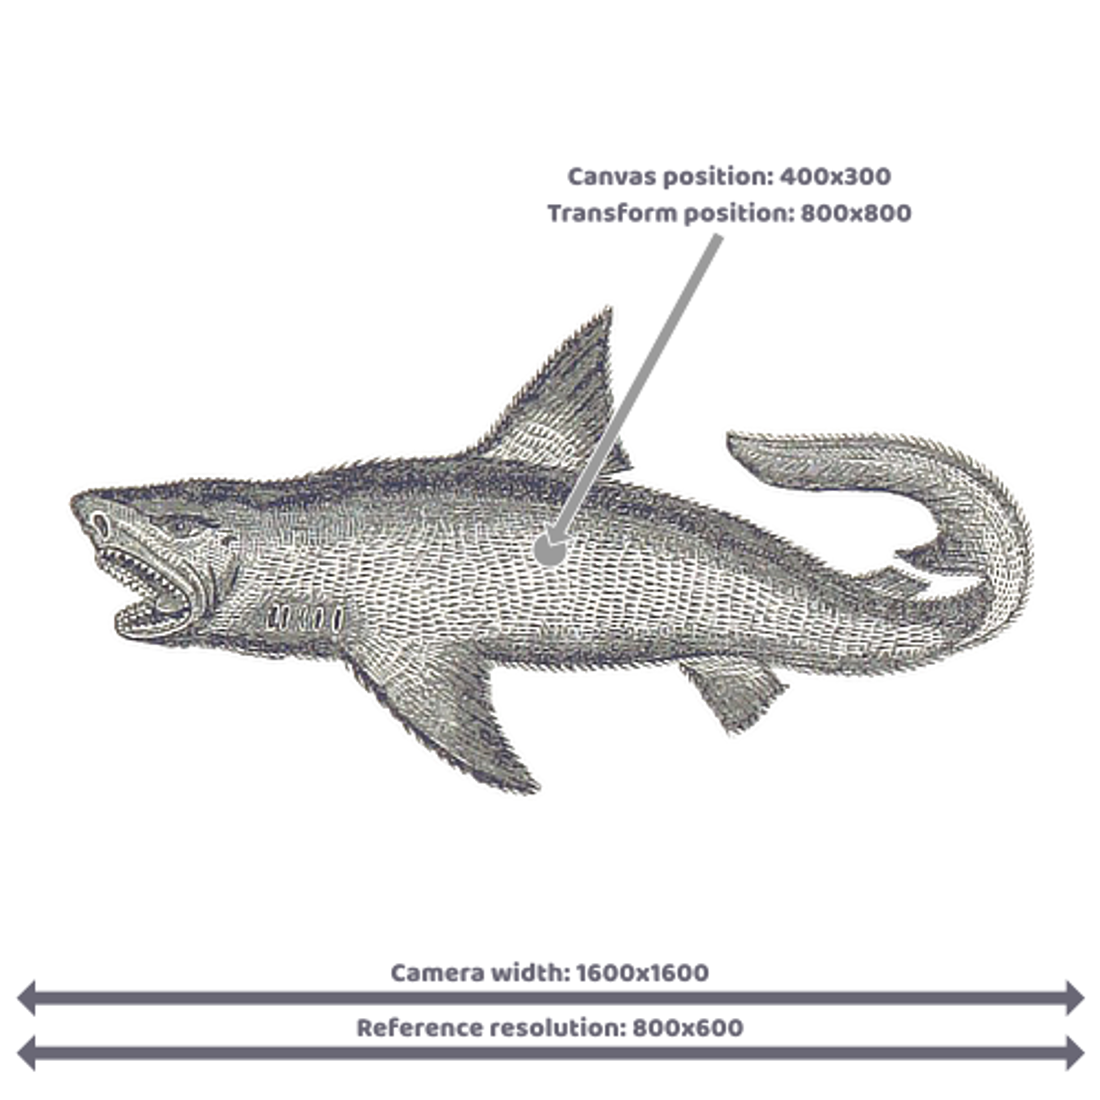
In a 2D game, with the Projection set to Orthographic, it’s very similar to Overlay. However, it does not suffer from the same coordinate mis-match problem. If you wish to place a UI element over a GameObject, you can simply use the GameObject’s transform position details.
This makes items easier to draw “in-world”. Moving the camera will not change the location of UI elements drawn with specific world coordinates. The box you draw over the shark will stay over the shark, even when the map is moved. Consider an RTS where the health bar of a building remains in place, despite the camera moving.
If you do want something to stay in place, then anchors will solve that.
World Space
The trickiest of canvases to place, I find. This is for when you want a UI to exist in the world of your game. Almost exclusively, this will be used for 3D games. Consider menu systems on a vending machine or the subway map in Deus Ex.